为 Ghost 博客创建 GitHub Action 实现修改主题推送自动更新
Ghost 支持创建 GitHub Action,实现在本地修改主题之后推送到云端自动更新 Ghost 后台的在线主题,相当于将本地和在线关联起来。
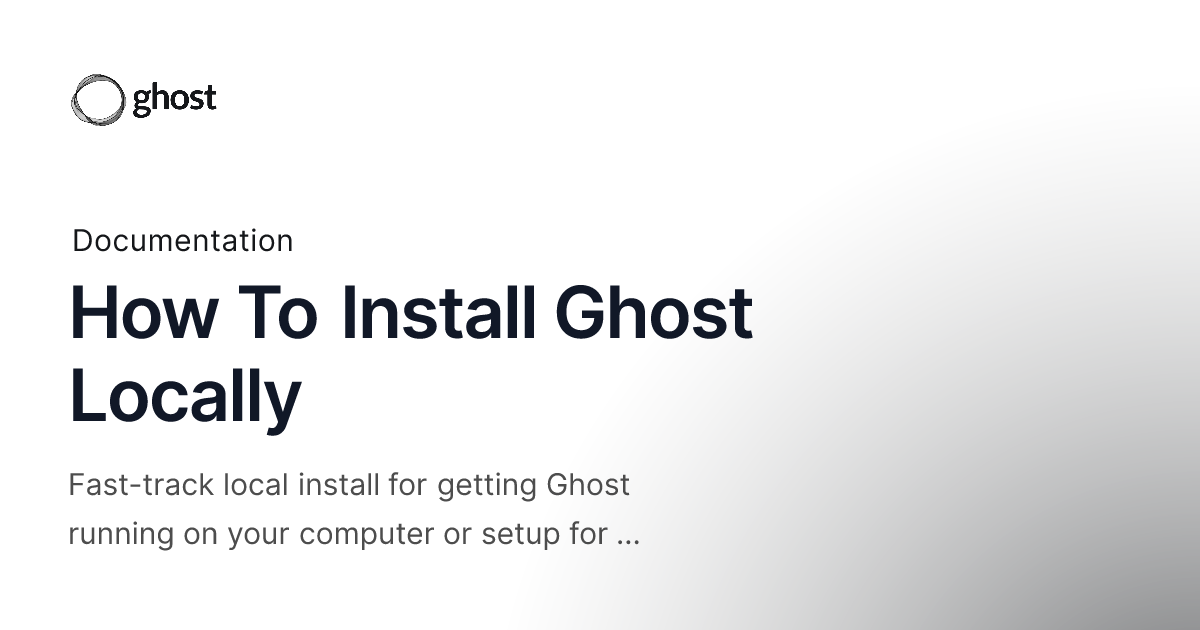
这个方式比较适合跟 Ghost Local 配合使用。本地安装比较简单,可以直接参照官方文档操作:
How To Install Ghost Locally - Ghost Developer Docs
Fast-track local install for getting Ghost running on your computer or setup for doing theme development
如果你对 Git 和 GitHub 比较熟悉,参考本文操作应该非常简单。
如果你对代码不太熟悉,也可以在本地修改主题之后打包手动上传到博客后台。
Ghost 后台
在 Ghost 后台点击左下角设置图标,搜索或滚动找到 Integrations
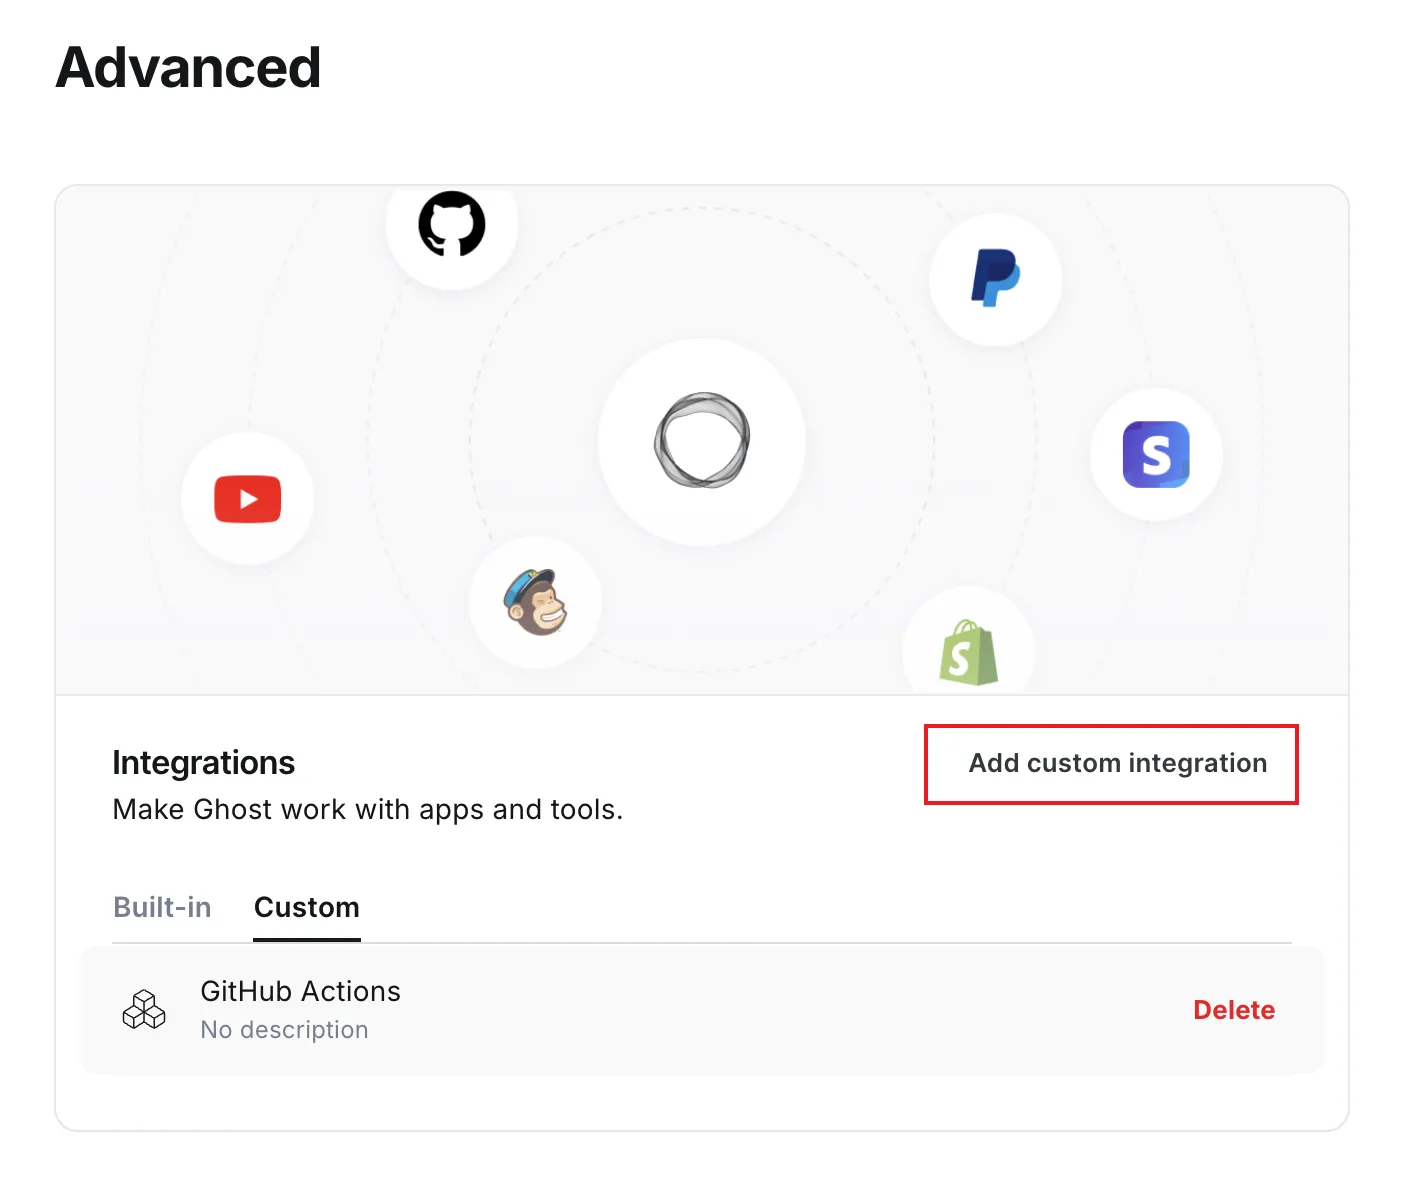
点击 Add custom integration 并命名为:
GitHub Actions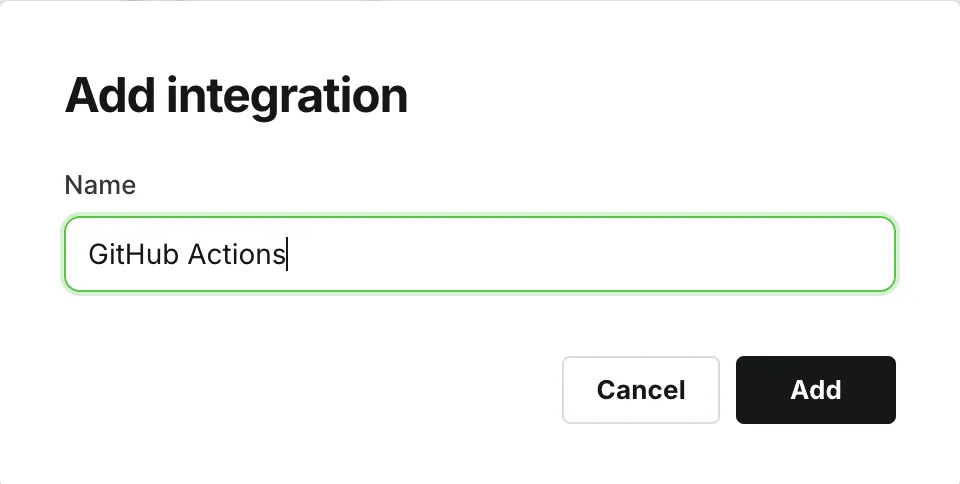
点击添加之后会看到如下图所示:
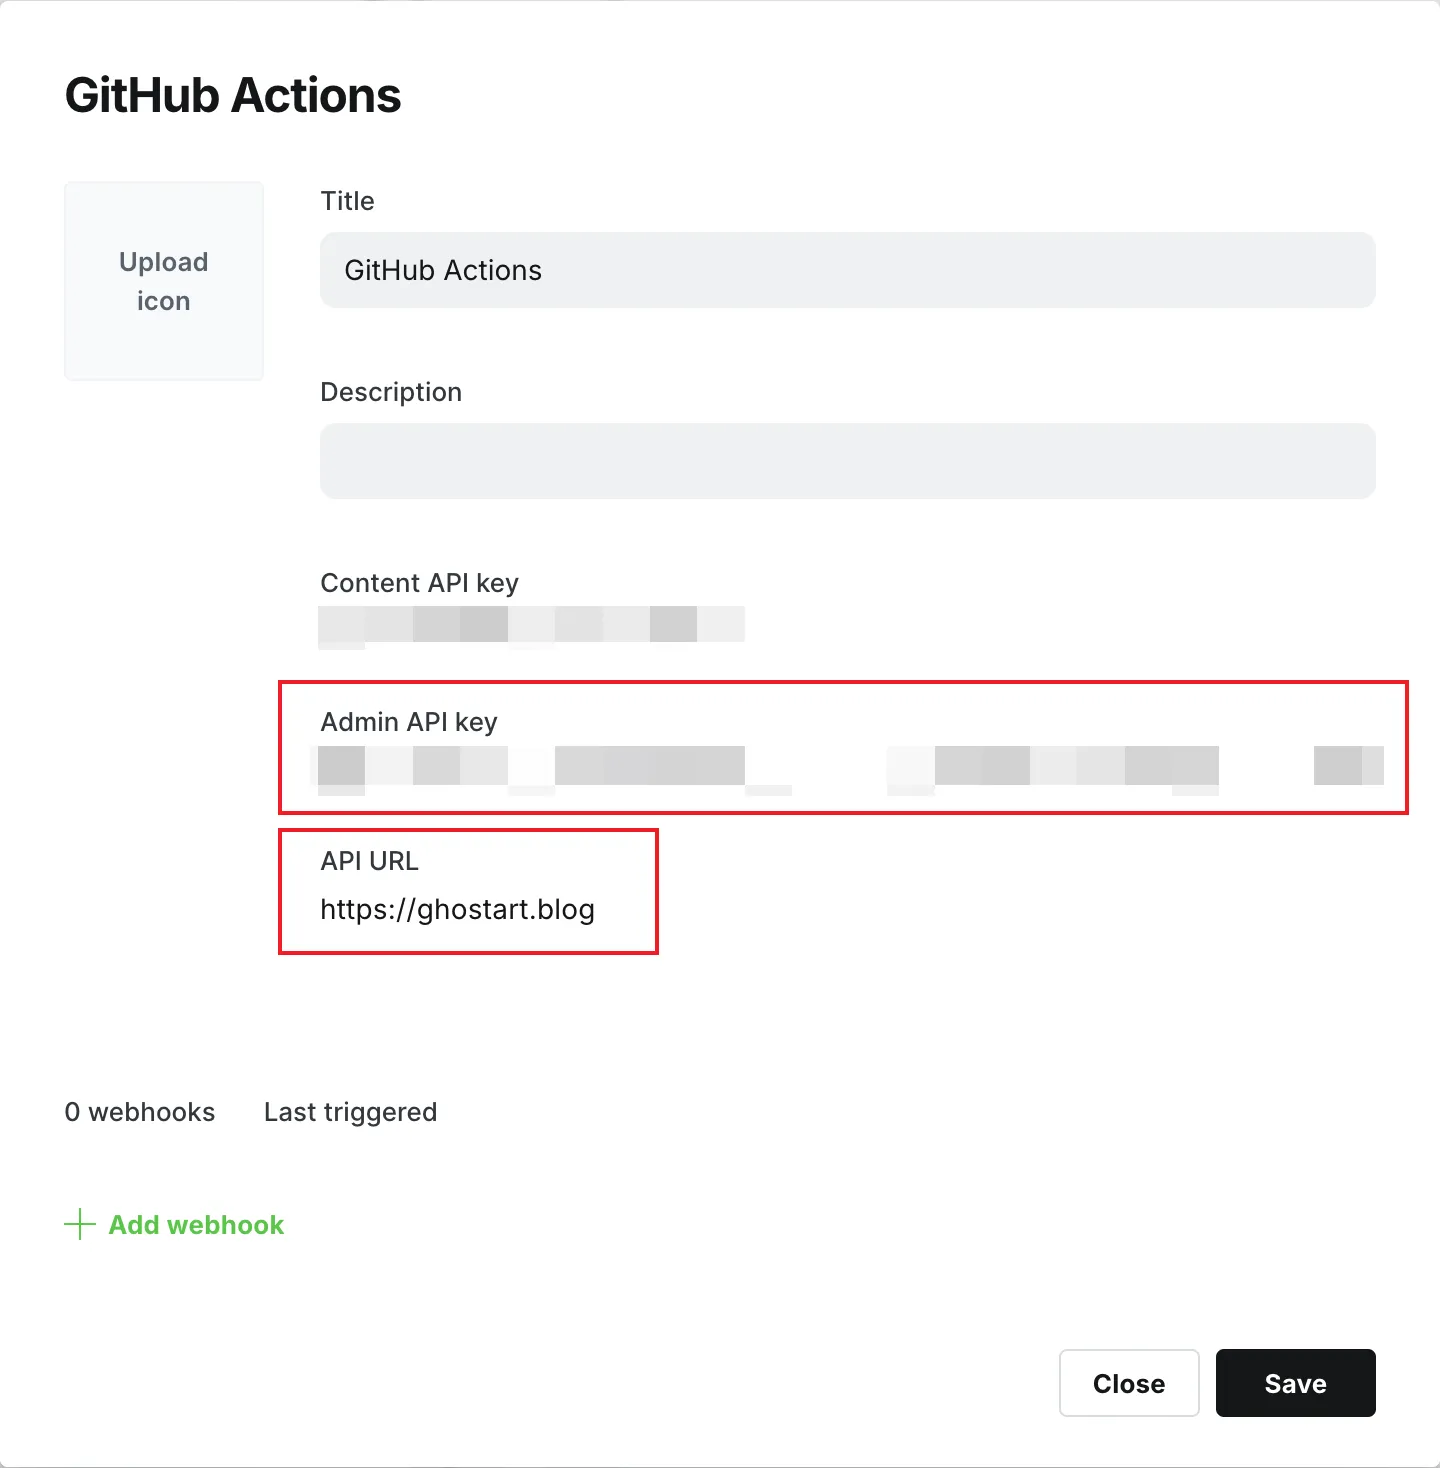
GitHub Repository
在你的 Ghost 主题的 GitHub Repository Settings ~ Secrets and variables ~ Actions ~ Secrets ~ New Repository Secret 中创建:
GHOST_ADMIN_API_URL这里的值复制使用上图中的 API URL,也就是你的 Ghost 博客链接。
继续创建另一个 Secret,名称是:
GHOST_ADMIN_API_URL对应的值复制上图中的 Admin API key
创建 workflow 文件
在主题所在目录中创建文件夹:
.github/workflows/deploy-theme.yml复制后,点击新建文件,一键创建文件夹和文件
复制以下内容粘贴到 deploy-theme.yml 中:
name: Deploy Theme
on:
  push:
    branches:
      - main
jobs:
  deploy:
    runs-on: ubuntu-22.04
    steps:
      - uses: actions/checkout@v4
      - name: Deploy Ghost Theme
        uses: TryGhost/action-deploy-theme@v1.6.6
        with:
          api-url: ${{ secrets.GHOST_ADMIN_API_URL }}
          api-key: ${{ secrets.GHOST_ADMIN_API_KEY }}
测试同步
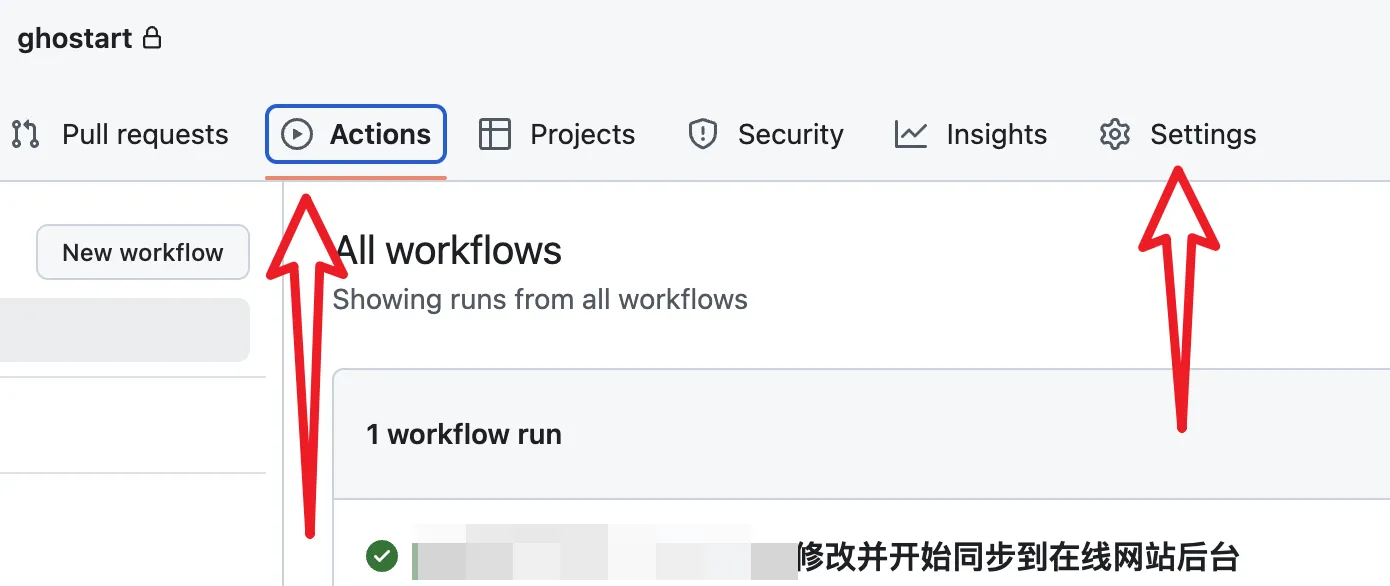
修改主题(例如 package.json 随便修改一下文字),保存之后推送到 GitHub 测试修改是否同步,可以在 GitHub Repository 的 Actions 选项卡中可以看到:
同步到后台之后记得切换对应的主题,才能查看修改之后的效果。